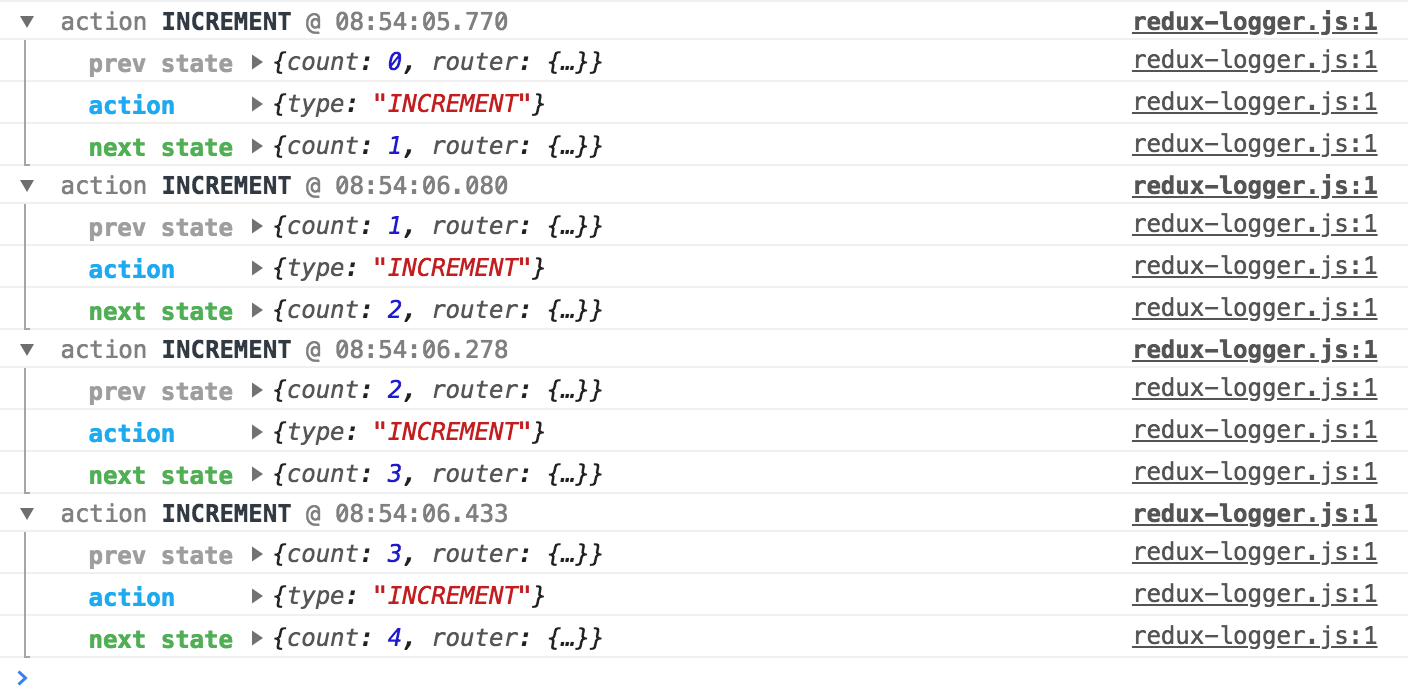
1
2
3
4
5
6
7
8
9
10
11
12
13
14
15
16
17
18
19
20
21
22
23
24
25
26
27
28
29
30
31
32
33
34
35
36
37
38
39
40
41
42
43
44
45
46
47
48
49
50
51
52
53
54
55
56
57
58
59
60
61
62
63
64
65
66
67
68
69
70
71
72
73
74
75
76
77
78
79
80
81
82
83
84
85
86
87
88
89
90
91
92
93
94
95
96
97
98
99
100
101
102
103
104
105
106
107
108
109
110
111
| const path = require('path');
const webpack = require('webpack');
const HtmlWebpackPlugin = require('html-webpack-plugin');
const CleanWebpackPlugin = require('clean-webpack-plugin');
let config = {
entry: {
app: [
'webpack/hot/only-dev-server',
'react-hot-loader/patch',
'./src/index.jsx',
],
},
plugins: [
new CleanWebpackPlugin(['dist']),
new HtmlWebpackPlugin({
title: 'React + ReactRouter Demo',
filename: './index.html',
template: './index.html',
}),
],
output: {
filename: '[name].bundle.js',
path: path.resolve(__dirname, 'dist'),
},
module: {
rules: [{
test: /\.(js|jsx)$/,
loader: 'babel-loader',
exclude: [
path.resolve(__dirname, 'node_modules'),
],
options: {
plugins: ['transform-async-to-generator', 'transform-strict-mode', 'transform-object-assign', 'transform-decorators-legacy', 'react-hot-loader/babel'],
presets: ['es2015', 'react', 'stage-0'],
},
},
{
test: /\.css$/,
use: [
'style-loader',
'css-loader',
],
},
{
test: /\.(png|svg|jpg|gif)$/,
use: [
'file-loader',
],
},
{
test: /\.(woff|woff2|eot|ttf|otf)$/,
use: [
'file-loader',
],
},
{
test: /\.(csv|tsv)$/,
use: [
'csv-loader',
],
},
{
test: /\.xml$/,
use: [
'xml-loader',
],
},
],
},
resolve: {
extensions: ['.js', '.jsx'],
alias: {
Actions: path.resolve(__dirname, 'src/actions'),
},
},
};
if (process.env.NODE_ENV === 'production') {
config = Object.assign({}, config, {
mode: 'production',
});
} else {
const {
plugins,
} = config;
plugins.push(new webpack.DefinePlugin({
'global.GENTLY': false,
__DEV__: true,
}));
config = Object.assign({}, config, {
mode: 'development',
devtool: 'eval',
devServer: {
hot: true,
contentBase: path.join(__dirname, 'dist'),
compress: true,
port: 8083,
historyApiFallback: {
rewrites: [{
from: /^\/$/,
to: './index.html',
},
],
},
},
plugins,
});
}
module.exports = config;
|
